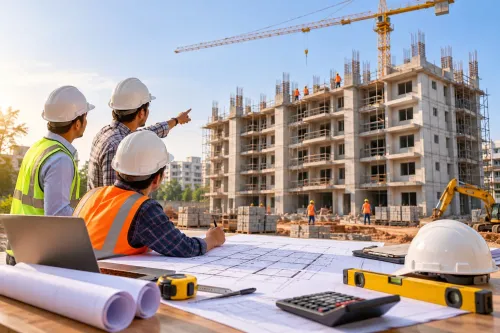
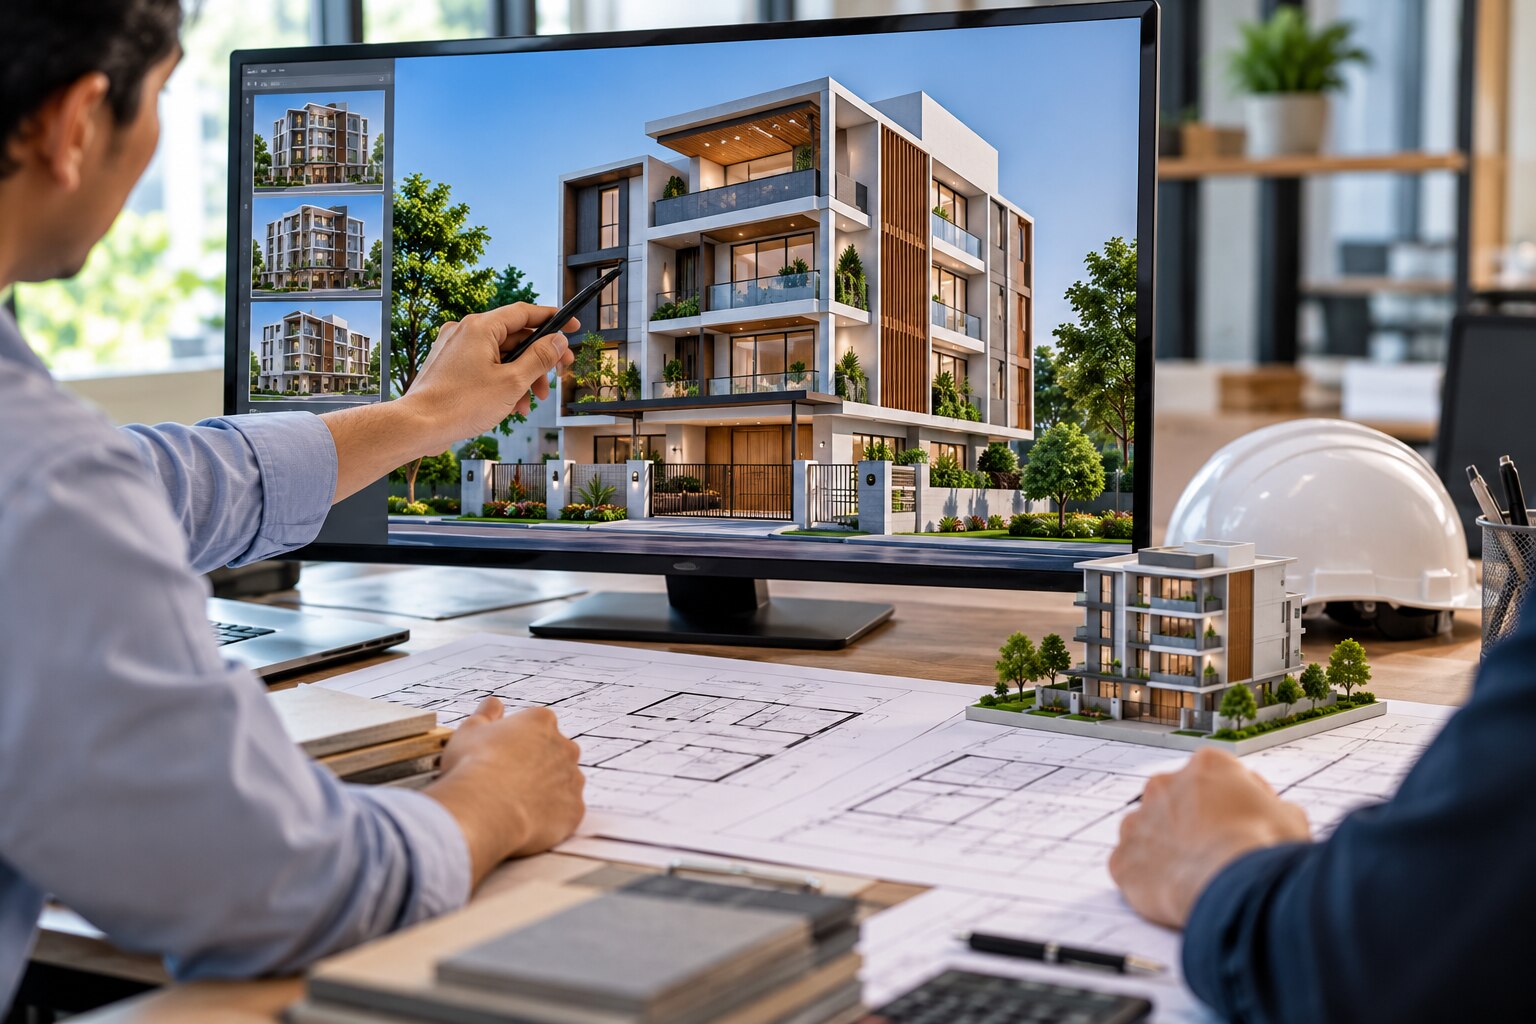
An attractive facade image can hide incorrect proportions, missing drainage, impractical projections, or a design that does not fit the site. By checking the right views, measurements, materials, lighting assumptions, and revision records, you can use a 3D exterior model as a decision tool rather than treating it as proof that the building is ready to construct.
Key takeaways
- Compare facade options using identical camera angles, materials, lighting, and site conditions.
- Check floor heights, balconies, windows, roofline, parapet, and entrance against approved drawings.
- Request editable model views, material specifications, dimensions, and revision details before approval.
- Treat renders as visual tools, not proof of structural compliance, buildability, or final colour.
What a 3D elevation model shows—and what each view is for
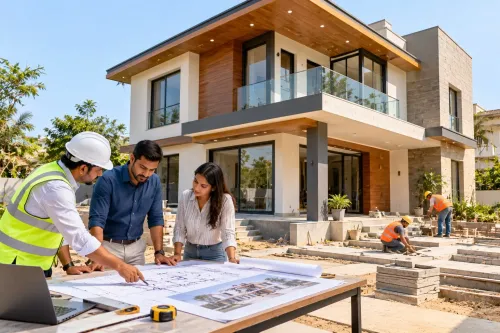
A 3D elevation model lets you inspect the building exterior visualisation from several angles before construction. You can examine the facade shape, floor heights, roofline and parapet, balconies, windows, doors, entrance canopy, boundary wall, gate, exterior materials, colours, lighting, landscaping and nearby context.
Rotate and zoom to spot misaligned windows, awkward projections, missing downpipes or cladding that does not fit around openings.
Use each view for a specific decision:
- Front view: check the road-facing composition, entrance position, window alignment, setbacks and material pattern.
- Rear and side views: inspect service openings, balconies, gutters, external stairs, side setbacks and less-visible façade areas.
- Close perspective: compare surface finishes, projections, shadows, lighting and the relationship between the building, boundary wall and landscape.
- Roof-level view: review roof slopes, parapet height, tanks, ducts and drainage outlets where they are visible.
A 3D elevation is a visual design aid, not automatically a construction model. It does not prove the wall build-up, fixings, structural capacity, fire stopping, drainage or waterproofing. A detached mesh or rendered image can also lose object data during software export; a coordinated BIM model retains locations, properties, quantities and links to other systems.
| Drawing or model | What it shows | What it cannot replace |
|---|---|---|
| 2D elevation | One flat façade with levels, openings and finishes | Views of depth, side conflicts or shadows |
| Floor plan | Room layout, walls and door swings from above | Exterior appearance and roof form |
| Section | Vertical cut showing heights and construction relationships | Complete façade composition |
| Walkthrough | Moving visual sequence through or around spaces | Measured construction information |
| Complete 3D model | Building geometry and, in BIM, linked data | Specialist structural, fire and waterproofing checks |
The information and review process behind a reliable exterior model
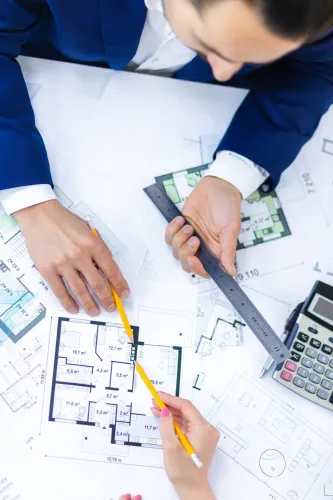
A reliable exterior model starts with measured facts, not a polished render. Give the designer approved floor plan inputs, site dimensions, floor-to-floor heights, road-facing side, setbacks, window and door schedule, roof design, parking requirements, and preferred materials.
A measured survey, photogrammetry, or registered point cloud is stronger than old drawings and photographs, which can repeat wrong levels, boundaries, neighbouring buildings, or façade dimensions.
1. Confirm the survey basis. Request the survey date, control points, stated accuracy, north reference, and a list of inaccessible areas. Check for gaps or displaced features caused by occlusion, glass, reflections, moving objects, poor lighting, insufficient image overlap, or incorrect point-cloud registration.
2. Compare the massing with approved information. Review front, rear, and side views, then check floor levels, setbacks, window alignment, balconies, projections, parapets, roofline, boundary walls, gates, and site levels. Mark every mismatch before discussing colours or materials.
3. Check the model’s intended detail level. A photorealistic image can still use conceptual LOD 100 or approximate LOD 200 geometry; do not treat it as construction information for wall build-ups, fixings, drainage, fire stopping, or weatherproofing.
4. Validate sun studies using the correct site location, orientation, date, time zone, nearby obstructions, and terrain. A wrong north arrow can make a convincing shadow image useless for design decisions.
5. Review the corrected version against your marked comments, record the revision number and approval status, and approve it only after the model matches the survey and brief.
How to check that the attractive facade matches the approved building
Accept a 3D elevation only after proving its dimensions and coordination, not because the render looks attractive. Use perspective views to judge the street appearance, but use orthographic elevations for accurate proportions, levels, projections and façade dimensions; perspective can make nearby features look larger than they are.
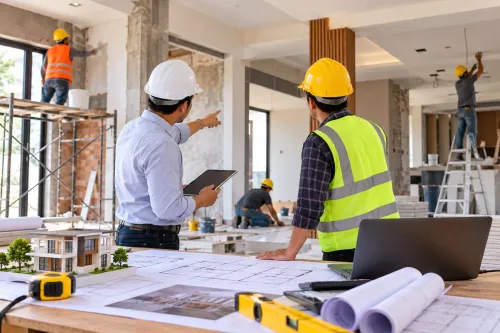
1. Match the model with the latest approved floor plan, sections and orthographic elevations. Perform plan-to-model checking for floor-to-floor heights, roof and parapet levels, entrance position, balconies, boundary walls, parking, and setbacks. A misplaced boundary line can make an attractive façade illegal or unbuildable.
2. Trace every opening across the drawings and model. Check window and door alignment between floors, sill heights, reveal depths, lintels and door swings. Look for windows colliding with slabs, beams or columns, and doors opening into steps, downpipes, lights or external fixtures.
3. Inspect junctions at close range. Confirm that balcony edges clear gutters, cladding modules fit around openings, the roof drains correctly, downpipes appear where needed, and the entrance canopy connects to the building without blocking windows or circulation.
4. Compare the model with a measured survey, registered point cloud or verified site dimensions. Check road level, neighbouring walls, boundary position, existing structures and available construction space. Old photographs or drawings can reproduce wrong levels and dimensions.
Record each correction against the model revision, then request updated labelled elevations before approval. The model does not replace structural, fire, waterproofing or manufacturer checks. A realistic image can still conceal an unsafe or impossible detail.
How to compare facade options without being misled by the render
A facade that wins on a bright hero image can fail in daily use. Compare every option from the same camera position, crop, viewing distance, sun direction, and exposure; otherwise a wider lens or brighter render can make one elevation look larger and cleaner.
- Approve exterior materials and colours only after checking physical samples, product specifications, joint sizes, texture scale, batch variation, reflectance, and cleaning method.
- Review daytime and nighttime lighting separately. Check glare into bedrooms, dark entrances, shadowed paths, fitting locations, energy use, and whether lighting highlights stains or uneven surfaces.
- Test balcony usability: usable floor depth after railing and drainage, door swing, privacy, shade, rain protection, and furniture clearance.
- Compare window size, glazing area, overhangs, and wall orientation for heat gain. A darker finish or larger glass area can increase cooling demand despite looking more premium.
- Assess landscaping at mature size, including root spread, irrigation, drainage, maintenance access, boundary visibility, and space lost to planting beds.
| Option | Compare on site | Reject or revise when |
|---|---|---|
| Elevation A versus B | Same floor heights, window positions, setbacks, and entrance alignment | A looks better only because geometry or camera framing changed |
| Smooth render versus textured finish | Sample reflectance, joints, stains, repairs, and replacement availability | The image hides construction tolerances or cleaning access |
| Open versus planted frontage | Pedestrian movement, parking sightlines, drainage, shade, and upkeep | Planting blocks vents, gates, signs, or future access |
Treat the render as a decision aid, not proof of wall build-up, fixings, drainage, fire stopping, or weatherproofing. Keep the chosen option linked to a dated material schedule and revision-controlled drawings.
What to request before you approve a 3D exterior design
Approve the 3D exterior design only after you receive a controlled package, not a single attractive image. The package must identify the survey source, dimensions, assumptions, revision status and intended use. A render can show a design conflict, but it does not prove structural strength, fire performance, waterproofing, drainage capacity or compliance with building permissions.
Request these items before the model guides drawings or site work:
- Labelled front, rear and side elevations with floor levels, parapet heights, openings, projections and key dimensions.
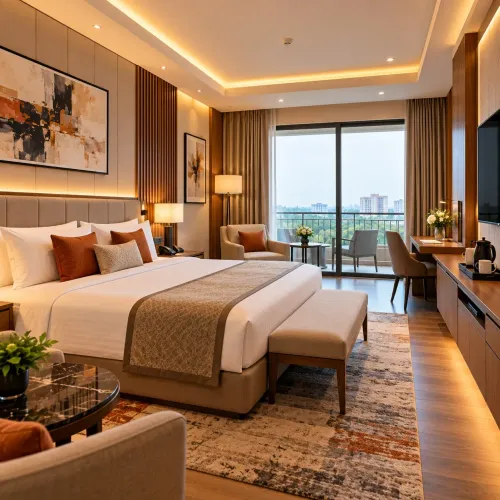
- High-resolution perspective views showing materials, colours, lighting, boundary walls, gates and landscaping.
- A material schedule naming each finish, colour code, texture, manufacturer reference and location.
- Revision control showing issue date, revision number, changed elements and the person approving it.
- Survey evidence: measured dimensions, control points, stated accuracy and a list of inaccessible or assumed areas.
- A coordinated BIM model if quantities, façade locations or links to structural and services models matter. Confirm the export format and that object properties survive file transfer.
- Written confirmation of design checks for window-to-slab clashes, balcony-to-gutter conflicts, door swings, downpipes, cladding modules and roof drainage.
- A drawing set that separates visual intent from construction information; do not treat the render as a fabrication or waterproofing detail.
Check with a team such as Empower Infra that the approved version, not an earlier image, reaches the architect, contractor and site supervisor.
| Deliverable | What to verify | Risk if missing |
|---|---|---|
| Render set | Labelled views and issue date | Site uses an outdated appearance |
| Model file | Coordinated geometry and properties | Quantities or clashes remain hidden |
| Approval record | Signatures and revision number | Unauthorised changes reach construction |
Related product
 | Services Envision the future of your project through our 3D Elevation Services. View product → |
Frequently asked questions
What does a 3D elevation model show?
It shows the exterior from selected angles, including facade shape, floor heights, roofline, parapet, balconies, openings, entrance features, materials, colours, lighting, landscaping, and nearby context.
How do you check whether a facade matches the approved building?
Compare the model with approved plans and elevations, checking floor-to-floor heights, setbacks, balcony projections, window and door positions, roofline, parapet, boundary wall, and gate.
How should you compare different facade options?
Use the same camera position, viewing height, sun direction, time of day, landscaping, surrounding buildings, and image resolution for every option.
What should you request before approving a 3D exterior design?
Request dated views from all important sides, material and colour specifications, key dimensions, the source drawings used, revision notes, and a list of exclusions or assumptions.