

A drawn floor plan becomes a usable home only after it is tested against the site, coordinated across every trade, priced clearly, and built in the right sequence. By following the project from survey and approvals through inspections, handover, and defect correction, you can identify costly gaps before they become construction problems.
Key takeaways
- Test the plan against soil, utilities, approvals, budget, and daily routines.
- Use one coordinated drawing set to prevent clashes between architectural and engineering work.
- Choose a contract model based on your preferred control, flexibility, and risk.
- Inspect performance, record defects, and close every issue before handover.
Start by Testing the Plan Against the Site and Daily Life
An approved plan becomes buildable only after it fits the actual plot, local approvals, ground conditions, utilities, budget, and the way you live. A polished floor plan cannot determine whether a slab, isolated footing, crawlspace, or basement will remain stable and dry.
1. Commission a site investigation and verify the boundary survey, road level, setbacks, easements, finished-floor elevation, existing trees, utility lines, and neighbouring structures. Confirm where water, electricity, sewer, and stormwater connections can enter the property.
2. Test the soil bearing capacity and identify expansive, collapsible, filled, or weak layers. Record groundwater depth and seasonal change; these findings can alter foundation depth, reinforcement, damp-proofing, waterproofing, and excavation methods.
3. Complete a slope and drainage assessment in Nagpur. Grade the ground away from the foundation at about 5%—roughly 150 millimetres in 3 metres—where site conditions allow, or provide an approved drain, swale, sump, or retaining solution. A wrong finished level can send monsoon water toward the house.
4. Walk through the rooms with furniture dimensions, appliance sizes, and family routines. Check circulation, kitchen work zones, storage, daylight, cross-ventilation, privacy, parking, door swings, and future accessibility before fixing walls and service points.
Resolve these findings against the structural, architectural, electrical, and plumbing drawings, then confirm the revised quantities and budget. Otherwise, construction starts with hidden assumptions and turns site discoveries into variations, delays, or a house that looks complete but works poorly.
Use One Coordinated Drawing Set to Control the Build
A permit drawing set is not a complete installation plan. Before work starts, issue one coordinated revision containing the architectural plan, structural drawings, electrical layout, plumbing layout, schedules, and construction details; otherwise trades will solve clashes independently on site.
| Drawing | Must control | Primary professional responsibility |
|---|---|---|
| Architectural plan | Grid lines, room dimensions, wall thicknesses, levels, door and window sizes, and finished-floor elevation | Architect coordinates space, openings, circulation, and revisions |
| Structural drawings | Footings, columns, beams, slabs, reinforcement, connection details, and load-bearing openings | Structural engineer confirms safe member sizes and site changes |
| Electrical layout | Circuits, outlets, switches, distribution board, earthing, equipment loads, and working clearances | Electrical designer coordinates routes with structure and interiors |
| Plumbing layout | Pipe diameters, drain slopes, vents, shafts, cleanouts, fixtures, and inspection points | Plumbing designer protects gravity flow and maintenance access |
| Schedules and quantity documents | Door and window schedule, finishing schedule, specifications, and bill of quantities | Architect and contractor align procurement, quantities, and approved materials |
Use the same grid, dimensions, benchmarks, and level datum across every sheet. Show duct routes, pipe slopes, beam depths, cabinet sizes, waterproofing transitions, and equipment clearances before framing; a late clash can force a soffit, relocated fixture, structural alteration, or demolished finish.
The architect coordinates the complete set, engineers approve their systems, and the contractor builds only from the latest stamped revision. Record every uncertainty as a written request for information, and approve any change with its revised drawing, cost, schedule effect, and responsibility before work proceeds.
Choose a Contract Model That Matches Your Control and Risk
The cheapest quote is not the safest contract: choose based on how much control you want and which risks you can manage.
| Option | What it means | Control and risk |
|---|---|---|
| Turnkey construction | One contractor coordinates design inputs, procurement, labour, construction, and handover for an agreed price or defined package. | You get one point of responsibility, but verify inclusions, specifications, allowances, and contractor margins. |
| Labour-only contracting | You supply materials and usually manage drawings, deliveries, sequencing, and specialist trades; the contractor supplies workers. | You control products and spending, but carry risks from wastage, delays, incorrect quantities, and poor coordination. |
| Item-rate contract | The contractor charges agreed rates for measured quantities, such as cubic metres of concrete or square metres of plaster. | Useful when quantities may change; your final cost rises if excavation, steel, or finishes exceed the bill of quantities. |
| Separate architect-contractor arrangement | The architect manages design and possibly supervision while you appoint and pay the builder separately. | You gain independent design oversight, but you must resolve coordination, payment, and responsibility gaps. |
Your contract must attach the approved drawing set, specifications, bill of quantities, programme, payment milestones, retention, taxes, permits, testing duties, workmanship standards, defect-liability period, insurance, termination terms, and the scope of work and exclusions. Name brands or measurable grades instead of writing “good quality.”
Require every change order to state the revised work, price increase or credit, schedule effect, affected allowance, and approval before work starts. Empower Infra can help coordinate a residential build, but the signed contract must identify who owns each decision and delay risk.
Related products
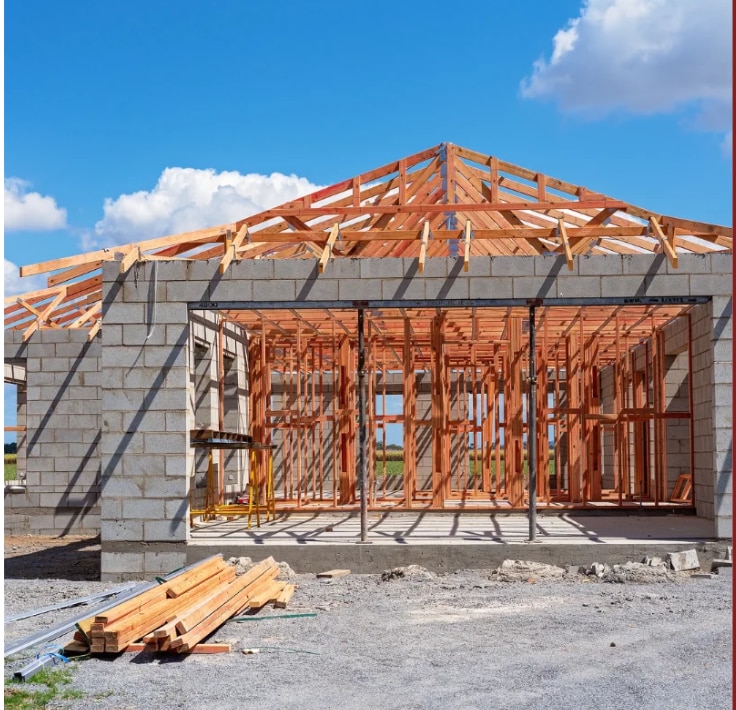 | Services Crafting dream homes is an art at Empower Infrastructure. Our residential construction services are meticulously tailored to cater to the diverse... View product → |
 | Services Embark on a journey of architectural marvels with Empower Infrastructure 's building construction services. View product → |
Build in Dependency Order From Foundation to Weather-Tight Shell
A house becomes buildable when each trade receives the work it needs from the trade before it. The bill of quantities controls quantities and budget; procurement then releases approved materials, shop drawings, and long-lead items in time for each dependency.
1. Confirm the set-out against the survey, finished-floor level, drainage falls, utility locations, and soil report. Mark excavation lines, protect benchmarks, and resolve any drawing conflict before machinery arrives.
2. Excavate, prepare the subgrade, and construct footings, reinforcement, foundation walls, damp-proofing, and below-ground drainage. Request the footing and foundation inspections before concrete placement, backfilling, or concealment.
3. Build the structural frame, including columns, beams, slabs, stairs, and load-bearing walls. Install embedded plates, sleeves, openings, and lintels from the structural and coordinated service drawings rather than cutting them in later.
4. Complete the roof structure and install the roof covering, external walls, waterproofing, windows, and external doors. This creates the weather-tight shell and protects interior work from rain and moisture.
5. Install rough plumbing, electrical conduits and boxes, and mechanical ductwork while walls and ceilings remain open. Check drain slopes, access panels, equipment clearances, and circuit routes, then book the rough plumbing and electrical inspection and any required mechanical inspection before closing surfaces.
6. After approvals, photograph concealed work and close walls, ceilings, and service shafts. Install insulation, plaster or drywall, screeds, waterproofed wet areas, flooring, cabinets, fixtures, and paint only after the preceding work passes inspection.
Record every change before execution: revised scope, price adjustment, schedule effect, allowances or credits, and approval. An unrecorded change can disrupt procurement, structural openings, inspections, and finishes.
Verify Performance Before Handover and Close Every Defect
A house is not ready for occupation because its paint is finished. The final inspection must confirm safe operation, approved work, and correction of every recorded defect before a completion approval or certificate of occupancy is issued.
1. Check that the building department has signed off required milestones: footings, foundation, framing, rough plumbing, electrical and mechanical work, insulation, and final completion. If work was covered before inspection, require the contractor to expose and reinstate it.
2. Run functional tests, not visual checks alone. Test plumbing pressure, drainage flow, hot-water temperature, electrical breakers and residual-current protection, smoke and carbon-monoxide alarms, HVAC heating and cooling, ventilation, appliances, door and window operation, roof drainage, and exterior grading.
3. Commission a blower-door test and record air leakage in air changes per hour at 50 pascals (ACH50). Insulation can pass inspection while unsealed service penetrations still cause drafts, moisture entry, and higher energy use.
4. Create a punch list room by room, with photographs, responsible tradesperson, agreed correction date, and retest requirement. Handover and defect correction are incomplete until leaks, cracked finishes, sticking doors, faulty switches, poor drainage, and damaged fixtures are closed out.
5. Collect the occupancy approval, inspection records, warranties, appliance manuals, approved as-built drawings, equipment settings, test certificates, keys, and maintenance schedule. Sign handover only after the final inspection confirms each punch-list item is corrected and the documents match the installed house.
Frequently asked questions
What should you test before building from an approved home plan?
Test the plan against the actual plot, local approvals, ground conditions, utility connections, budget, and your daily routines.
Why use one coordinated drawing set during residential construction?
A coordinated drawing set gives the site team consistent architectural, structural, service, and interior information, reducing clashes and rework.
How do you choose the right residential construction contract model?
Choose the model that matches how much design and cost control you want to retain, along with the construction risks you are prepared to manage.
In what order should a home be built?
Build in dependency order, starting with site and foundation work, then structure, services, enclosure, and the weather-tight shell.
What should you verify before taking handover of a new home?
Test the completed systems, inspect workmanship, document each defect, assign corrective work, and confirm every issue is closed before handover.
Related products
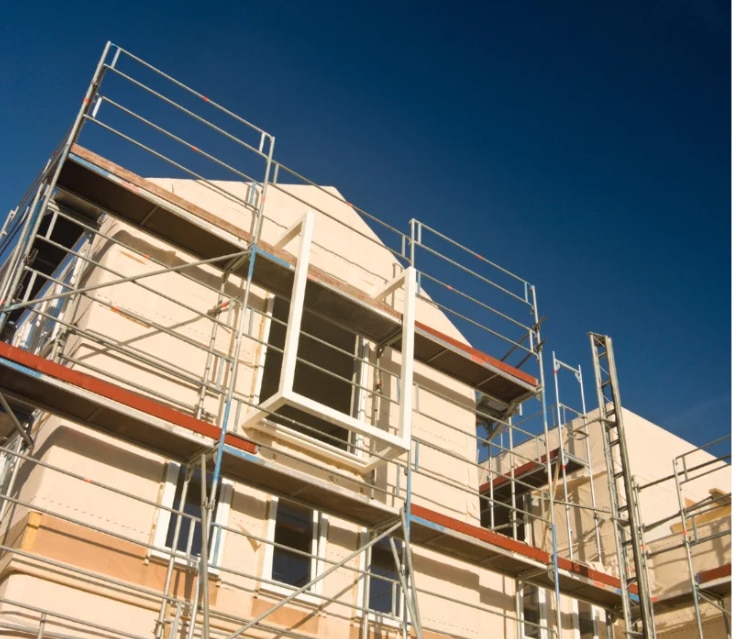 | Services For those in pursuit of an exclusive and opulent living experience, our Bungalow Construction Services provide bespoke solutions. View product → |
 | Services Transforming ideas into architectural masterpieces is the cornerstone of our expertise at Empower Infrastructure. View product → |